![]() Remodeling Completed
Remodeling Completed
![]()
some finished shots of the remodeling!
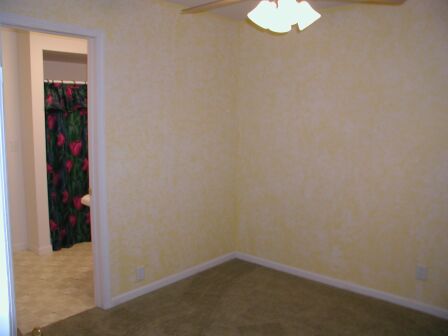
A view of the Guest Bedroom looking towards the Guest Bath. The
walls have a rag rolling technique. We used the technique because our wall
texturing didn't turn out as well as we had hoped. The rag rolling hides the
imperfections.
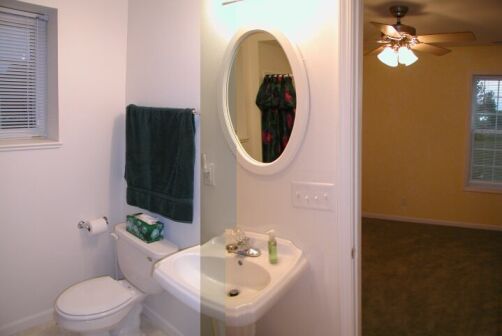
A view of the Guest Bath looking towards the Guest Bedroom.
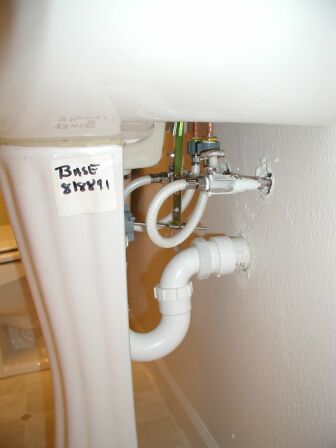
A view underneath the pedestal lavatory. We selected the lavatory
about a year before the beginning of the project. A contractor supply
store was going out of business and they had this great deal on a pedestal
lavatory basin and pedestal. It was only during the construction of the
Bath that I realized why they were such a great deal - they didn't belong
together. The basin was for a different model than the pedestal.
since they did sort of go together I used them anyway (I couldn't return them).
To compensate for the differences I used plumber's putty. It is noticeable
as a tan color line in the photo above. It isn't visible while standing in
front of the lavatory.
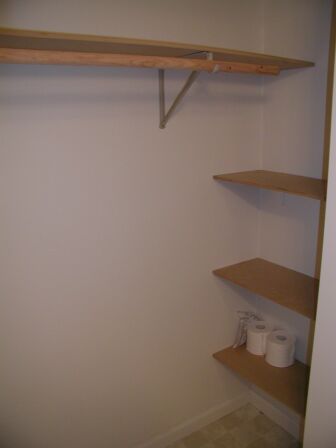
I compensated for not having a closet in the Bedroom or a medicine cabinet
in the Bath by having a large closet in the Bath.
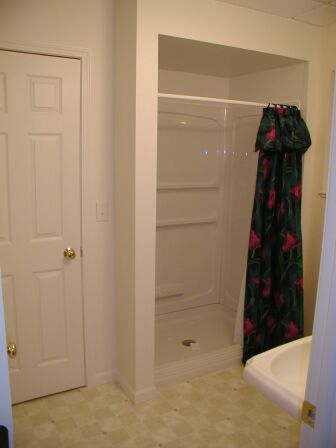
Looking at the shower in the Bath. The door next to the shower opens onto
the storage Room beyond. The storage Room opens to the Family Room. In the
future I can decide to enclose a portion of the storage Room and make it a Hall
to connect the Bath directly to the Family Room. At present I don't think
it's too much a problem.
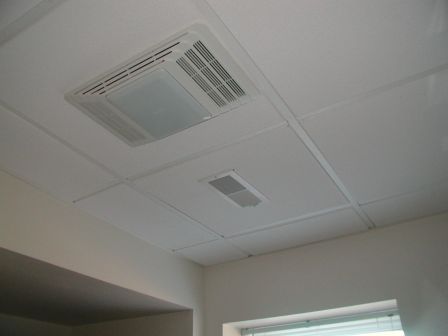
A view of the ceiling in the Guest Bath. I chose to put up a drop ceiling.
This way I can access the plumbing pipes of the upstairs Bath. The system of
drop ceiling I chose is flush with the structure so you really don't lose too
much ceiling height. Notice the light/fan fixture. It also has a
heating element. Although it doesn't give off a tremendous amount of heat,
it does give off enough to warm the room and take out any chill.

This view is in the storage Room looking at the back of the Guest Bath
shower (the door into the Bath is open). We didn't want to see all the
pipes but we also wanted to access the pipes in case of any leaking. My
solution was to put up peg board. I screwed it to the metal studs through
the holes in the board. It will be easy to remove if I ever need access to
the pipes. It also protects the pipes from accidental banging with boxes.
One final advantage - I can hang some tools on the board.
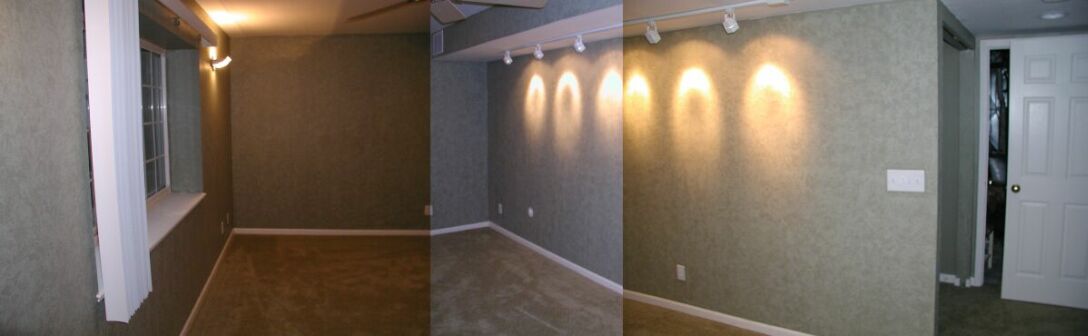
A composite view of the Office. Notice the deep windowsill and the
rag rolling on the wall. The color scheme in this room came out very
richly. To save on costs we decided to carpet both this room and the Guest
Bedroom with the same color carpet. We picked out a color that matches
both rooms.
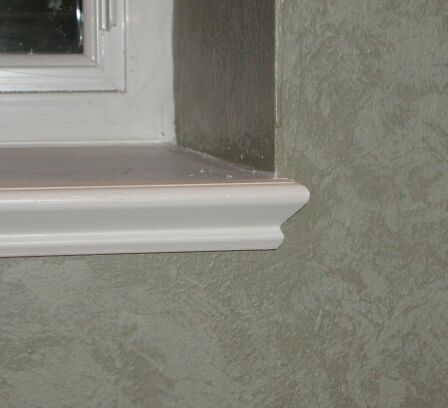
A close-up view of the detail to the window sill. I made the sill
out of hard board since I expect to have stuff occasionally resting on it.
I used a simple molding to complete the edge.
Here is a view of the track for the closet door in the
Office. I |
|
<prev ~ Back to Top ~ Next>
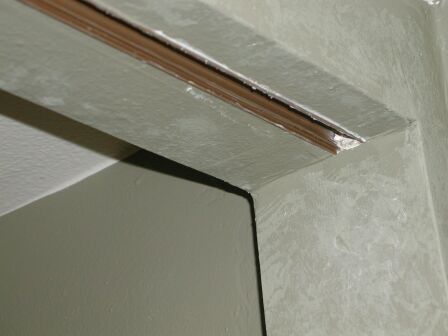
 Then I had to cut the bottom out and add a shim under the bottom support.
The location of the cut is based on the space needed for the door to
swing. These close-up views show the rag rolling we put on these walls.
Then I had to cut the bottom out and add a shim under the bottom support.
The location of the cut is based on the space needed for the door to
swing. These close-up views show the rag rolling we put on these walls.