Home
 Garden - the first
season
Garden - the first
season

There is much landscaping to do in the first season . One of the greatest
challenges is to decide which areas are to get attention first and
which will need to wait until next season . We focused on getting
plants for prime locations and landscaping structures completed first. Some
garden areas will need to wait until next year.
Much has happened in our cul-de-sac since we've moved in nine months ago.
New construction is everywhere. soon we'll have next door neighbors!
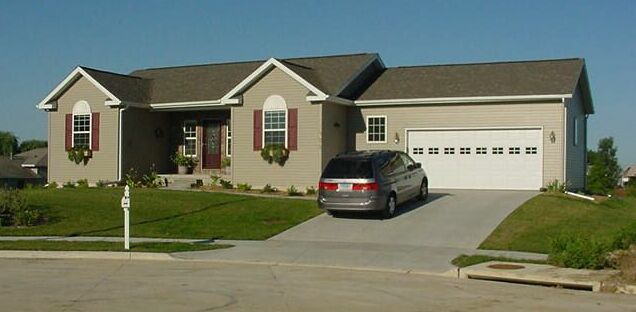
A view of the front of our house with landscaping.
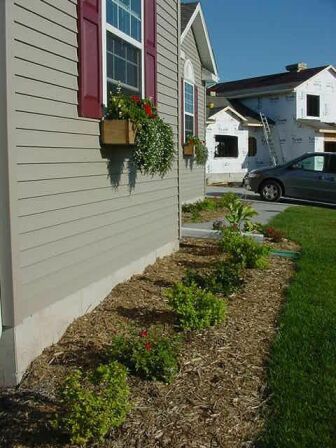
A view of the front flower bed. Notice the new house going up beside
ours.
|
|
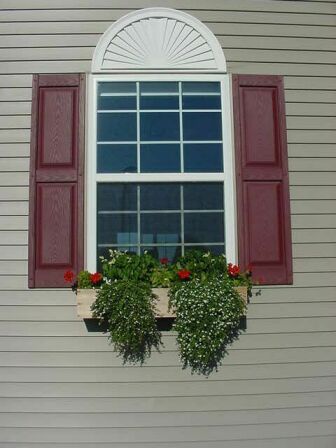
A view of the planter boxes. I made the box out of cedar and the brackets
out of stainless steel. I also used stainless steel screws to secure
the whole window box. |

A view of the shrub roses we selected for the front garden. They are
called Impact.
They alternate with Gold Mound spirea in the flower bed. The change
in color and texture work well together.
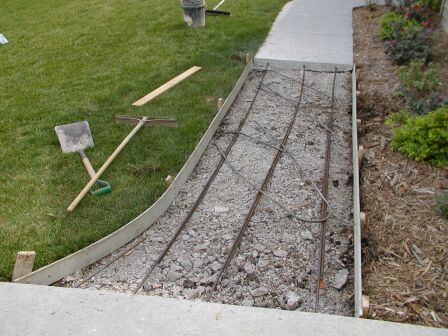
A bit of a problem occurred with our front walk. It started to settle
alongside our drive. The contractor had to cut out some of the walk
and re-pour it.
|
|
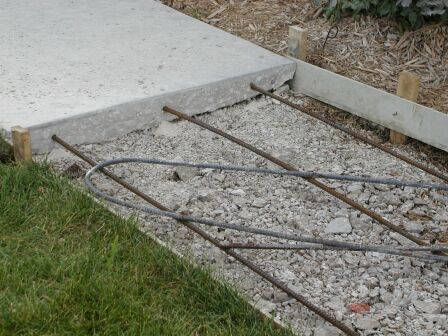
Rebar was placed and dowelled into both the existing walk and drive. By
adding this extra reinforcing the contractor hopes to prevent another settling
problem. |
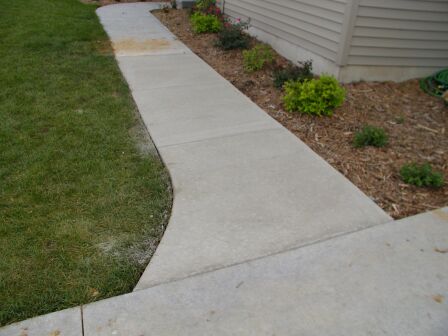
The new walk in place.
|
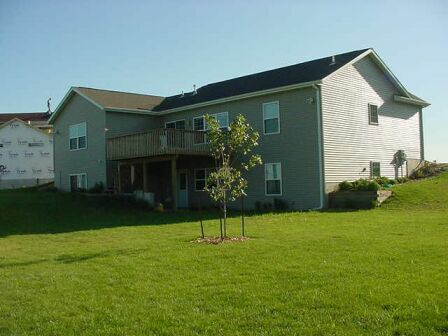
A view of the back with landscaping. The contractor sodded the front
yard and we sodded the back with some help from our friends.
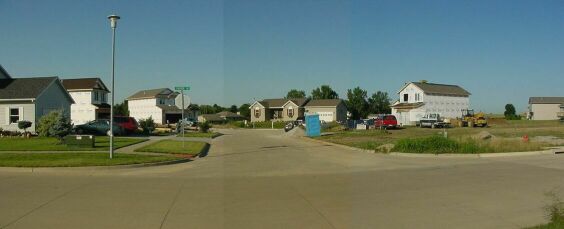
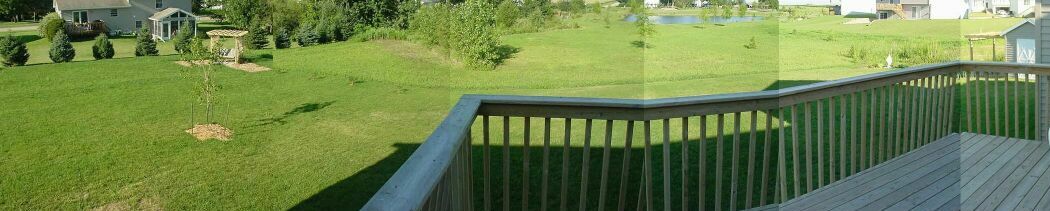 A panoramic view of the backyard from the deck. The railing is really
straight across.
A panoramic view of the backyard from the deck. The railing is really
straight across.
The distortion occurs when several pictures are put together. Note
the relative locations of the trellis swing (left) and shed (right).
The lake is visible in this shot as well. Our lot extends up to the
park area (the dark green line in the picture above).
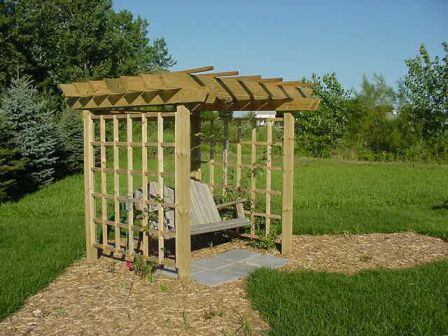
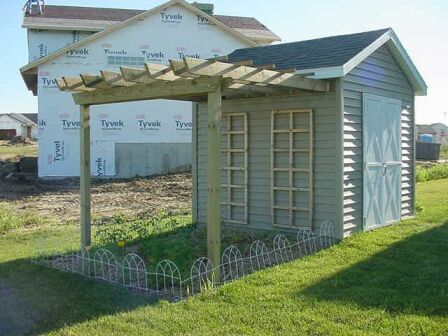
A view of the trellis swing. We used the swing from our old home and
built a new trellis.
It is a combination of pressure treated wood and cedar. Once we stain it,
it will have a more uniform color.
The carpentry instructor at school helped me plan and build the lattice.
This is one garden area that will need to wait for plants next year.
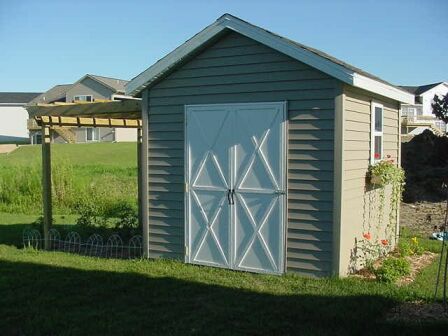
This shed was built by carpentry students as a project. I paid for
the shed and then purchased exterior finishing materials to match my house.
I also formed and poured the slab (with another friend) on which to
set the shed.
|
|
I designed and built the door. It looks like two (for aesthetic reasons)
but actually operates as one (for practical use). |
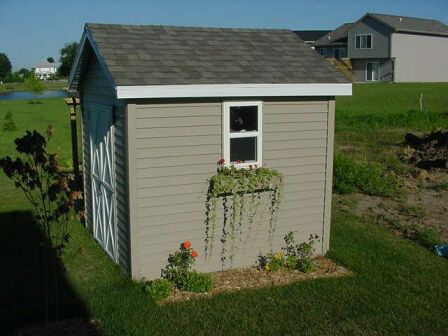
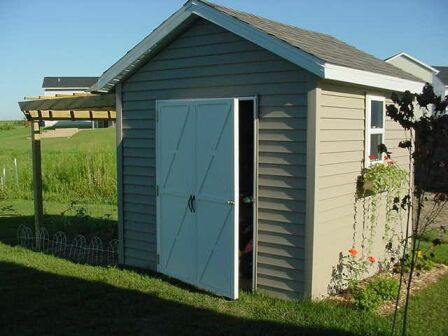
A view of the other side of the shed. This is the side visible from
the street. It still looks like it's missing something. We are going to build shutters to match the house.
|
|

This was done a couple of weeks after the picture on the left. small
details like shutters can add a lot to the overall appearance of a
building. |
|
A view of the side of the shed visible from the lake. We thought this
would be a good place to plant a small vegetable garden. The
lattice panels on the side of the shed were cut from the trellis swing.
Originally I made the panels too big. I thought this was a good
use of the extra length pieces. |
|
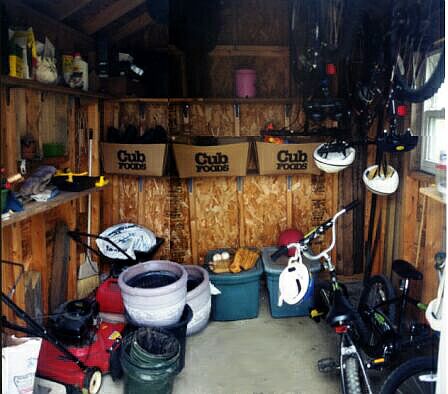
With a little ingenuity (and many brackets), a lot can be stored in
the small shed space.
|
<prev
~ Back to Top ~
Next>