![]() Remodeling Begins
Remodeling Begins
![]()
We're already wanting to finish the basement and have only lived here less than two years! The original design planned on this remodeling so it shouldn't be too bad to complete which is good because I'm doing most of the work. I plan on having a lot of help and advice from friends.
It all starts with a drawing. We revised the original design of the
finished basement from the original plan. Items such as the bathroom
stayed the same, though, because it would've been too expensive to relocate the
rough plumbing. Once the drawing was finished I had to do an estimate. I
was careful on my quantities because I didn't want to have too much left over.
To save cost, I had a lot of my supplies delivered at once. This
made parking in the Garage difficult for a while (but not impossible).
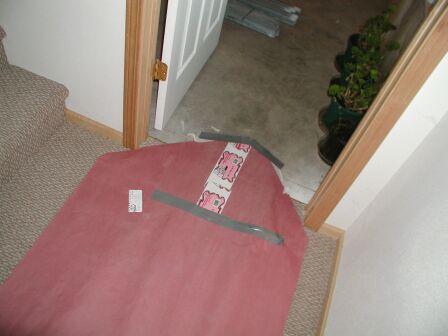
I protected the existing carpet in the Family Room with this runner. The
material is like a very heavy cardstock.
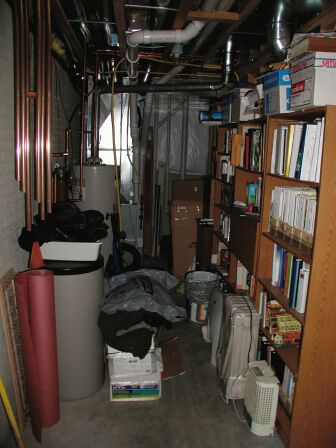
Getting some of storage areas cleared up and ready for the remodeling isn't
going to be easy.
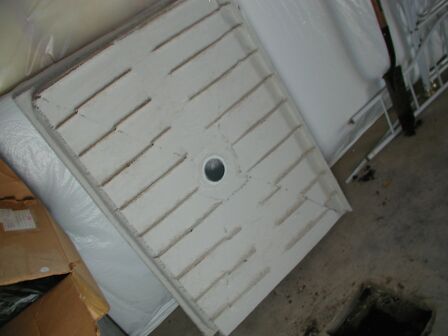
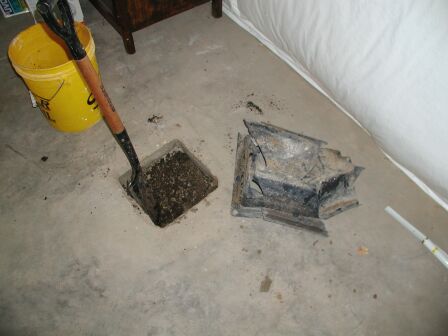
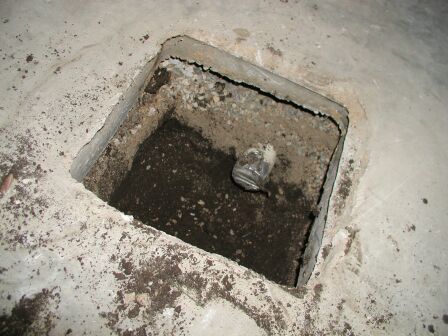
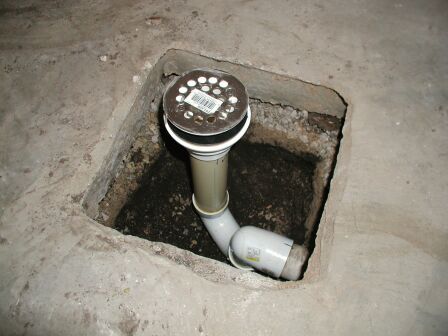
One of the first tasks was connecting the rough plumbing for the shower. since
the exact shower stall wasn't specified during construction, the contractor
blocked out an opening in the slab. I had to figure out the location
of the drain. This is the underside of the fiberglass shower deck.
|
|
|
|
|
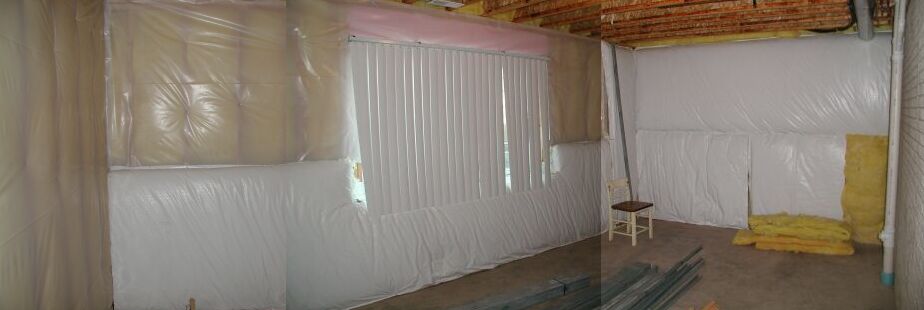
Due to code, my contractor couldn't leave the structure exposed in the unfinished portions of
basement when the house was built. He placed insulation and vapor barrier on my
wood stud walls and a plastic-backed insulation to cover the concrete walls.
Before I began putting up metal studs I sealed some areas and secured loose
spots.
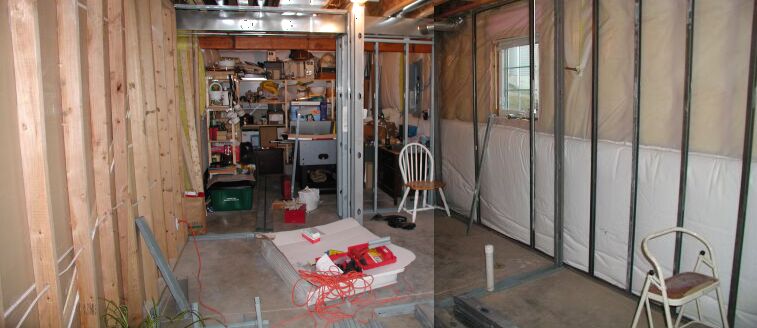
Beginning to lay up my studs. I chose to make the metal stud wall adjacent to
the concrete wall straight instead of putting a ledge where the wall thicknesses
were different. I used 20 gauge steel which is thicker than standard. It
was stiffer but harder to cut. All in all it was a good choice.
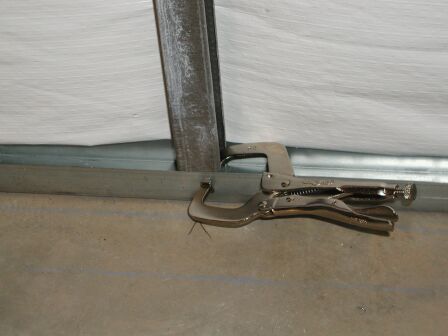
I chose metal studs because they are straight and easy to work with as
non-structural walls. They go together much like an erector set. A
special channel is tap-conned into the concrete. Then another is secured
to the joists above. The wall stud is then slipped into the channels,
checked for level and secured in place while it is screwed at the top and
bottom. laying out stud spacing is important or headaches will occur when
the gypsum board is installed.
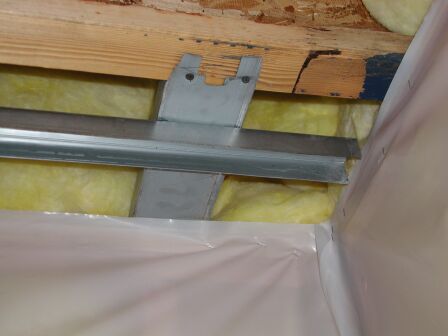
When the top channel is parallel with the joists, another channel is cut with
tabs and secured between two joists as support. If it is perpendicular,
the top channel can just be secured to the joists.

We had to frame around existing ductwork. This shot depicts the area just above the
shower. I decided to drop down the ceiling in the shower so it wouldn't
look too cut up. I am also going to use this area as a soffit to run the
vent.
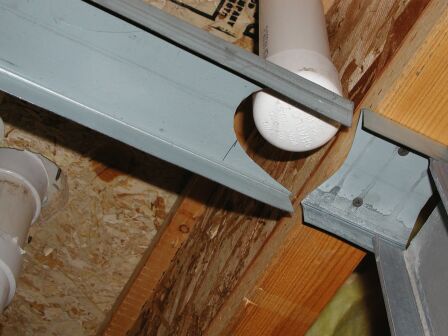
This is a capped vent for the future toilet. This vent was installed when the
house was originally built. When we opened up the vent to connect it to
the new toilet vent, water gushed out. The vent opens up through the roof
and it had been collecting rainwater. This picture also shows that the steel top
channel had to be cut around the vent.
<Prev ~ Back to Top ~ Next>