The walls are coming together. I worked on the project during Winter Break and spring Break. I'll have to finish in the summer.
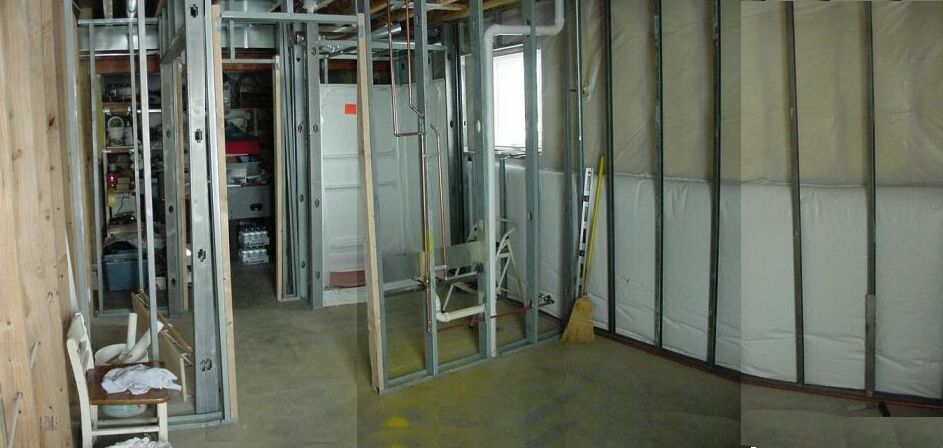
A view from the Guest Bedroom to the Bathroom. The walls are
straight and plumb. The distortion seen above is due to having several photos
put together to create the panoramic view.
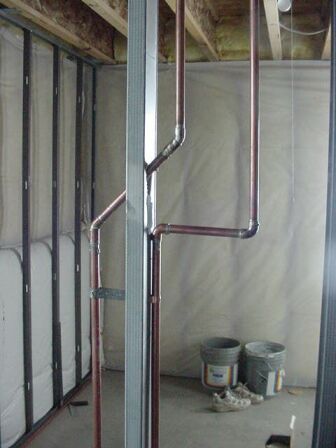
This is a close up view of the hot and cold water lines (from the bath
towards the bedroom). A friend came over and helped me lay out the plumbing.
I bought extra fittings and we also used extra and left-over fittings he had in
his tool box. That is why one pipe is at a 90° angle and the other one is
sloped. We attached the new lines to the existing ones and then capped the
new lines so water won't come out. We cut and dry fitted all the parts
first. Then we had to drain the whole system before putting it together.
For a couple of hours we had no running water in the house.
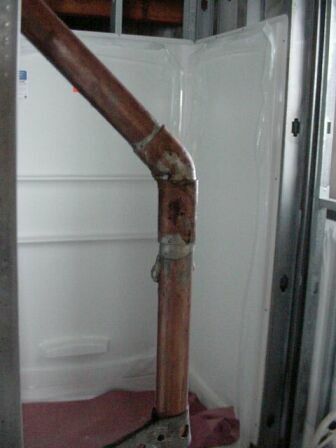
A close up of the pipe. My soldering job isn't the best but it doesn't
leak! The tub is beyond. It had to be installed as the framing is
going up. Notice how the base of the tub is protected by the heavy
cardstock material. I also left the protective plastic in place on the
walls.
|
|
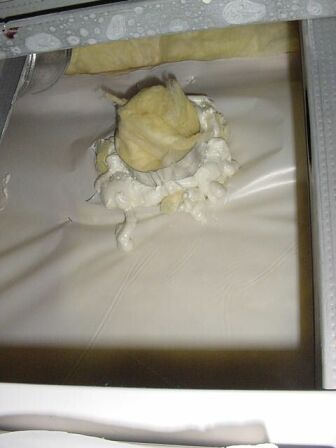
I put a pipe through the side of the house for future venting of the
Bathroom. I stuffed it with insulation so that warm air won't escape from
the house as I continue my framing work. I'll pull that out when I
hook up the vent pipe. I put foam insulation around the perimeter to seal
any gaps in the hole.
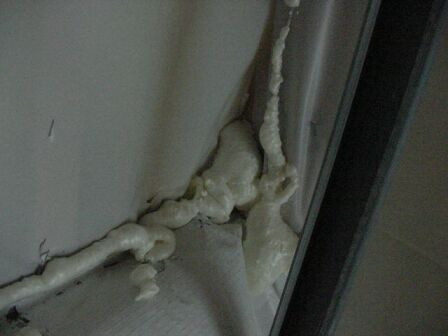
I also looked at any spots where air might leak. I filled those
areas with foam insulation as well.
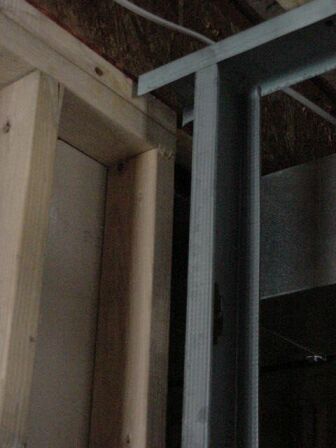
In metal framing, when two walls meet one is kept about 1/2" away
from the other. Notice the gap between the top channel and the existing
wood stud top plates. When the gypsum board is installed it will be slid in this
1/2" gap to seal it. The metal stud shown here is loose. It will be slid
up to the gypsum board. Then the top and bottom of the metal stud will be
secured to the top and bottom channels. This is a bit different from wood framing.
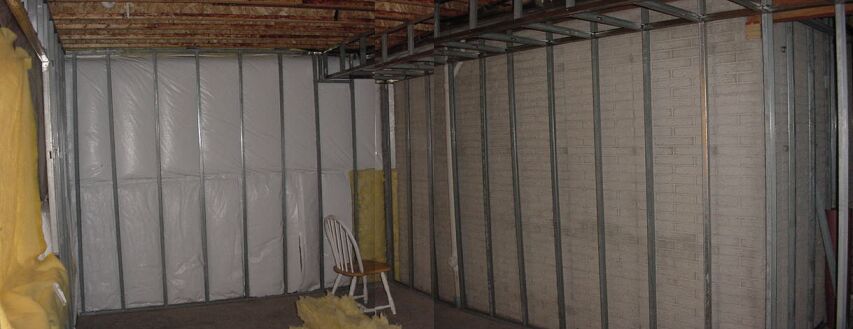
A view of the framing in the future Office from the entry into the Office.
Notice the soffit above.
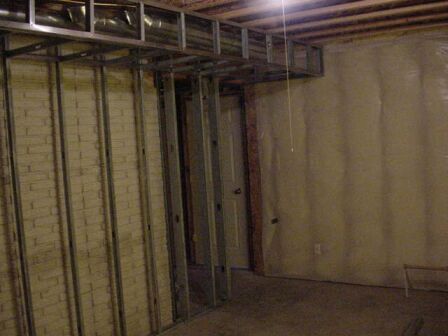
A view looking at the entry into the Office.
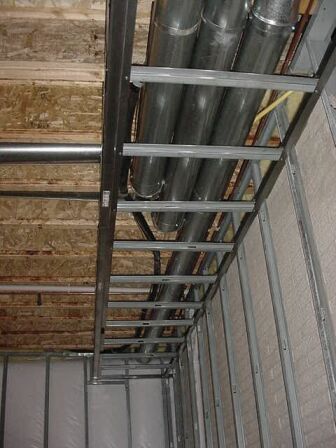
We located the soffit to cover up the ductwork. I extended it across the
same width from one end of the room to the other.
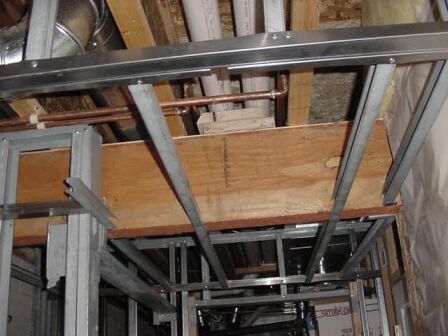
I also dropped the ceiling at the Office entry area because there was a beam
spanning the distance. I thought it would be easier to drywall and have a cleaner
look if the ceiling was a continuous height in this small entry area.

This entry area has a closet off it. This is a view of the header
and the framing of the ceiling.
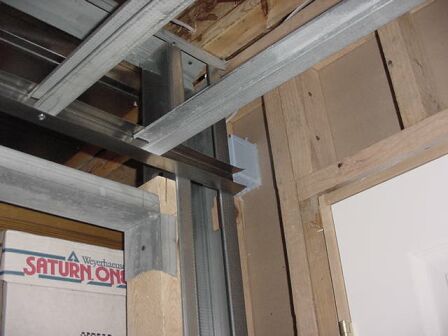
Another view of the ceiling framing.
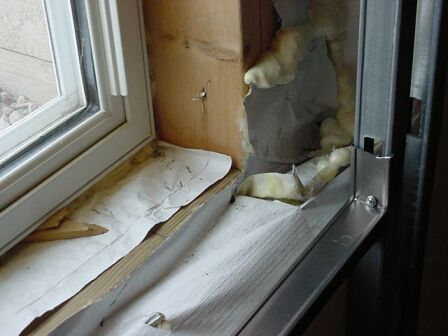
A close up view of the window sill.
<Prev ~ Back to Top ~ Next>