![]() Plumbing & Electrical
Plumbing & Electrical
![]()
Just finishing up the stuff behind the walls.
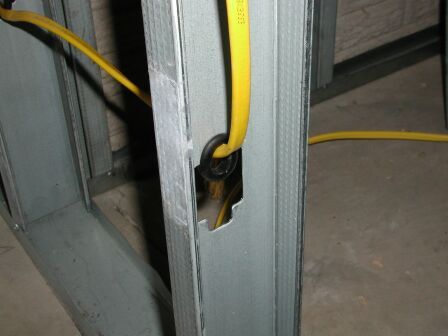
It is easy to thread the electrical wire through the metal studs because
there are holes located in the studs at strategic places. I placed
grommets between the wire and the stud to prevent any possibility of fraying.
The holes can be somewhat sharp Looking back at the process I wonder if this
step was really necessary but I'm glad I did it as an extra precaution.
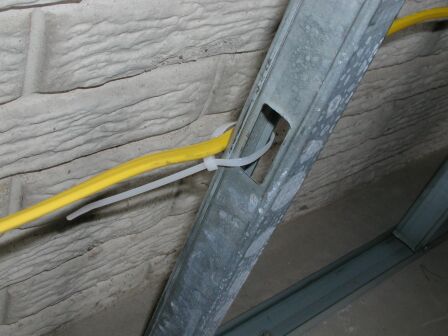
Instead of threading the wire through the narrower studs, I placed them
behind and used a tie to secure it.
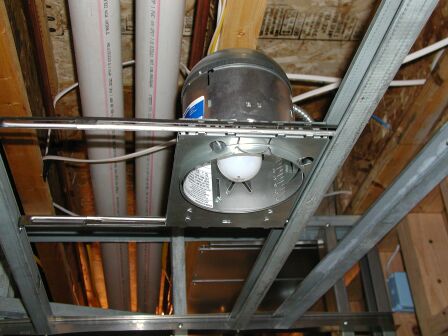
This is a view of the light fixture being installed in the lowered
ceiling. It is a recessed type can. The two bars on each side of the
fixture span the distance. They are also adjustable. The light is
located so it is centered in the space.
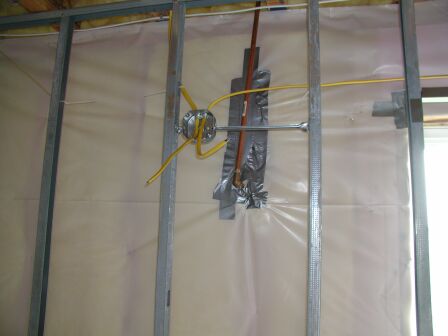
This is another example of an adjustable bracket. This is where a
wall mounted light fixture will be installed. Even though it looks
off-center from the bracket, it is centered in the wall space. Also behind
the bracket you can see a copper pipe. While I was finishing the room I
thought it was a good time to add another hose bibb to the exterior.
I never had one on the back of the house and decided to add it during this
remodeling. Notice the versatile use of duct tape.
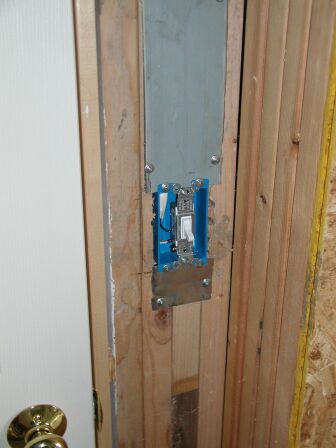
The switch for the light fixture is in a tight spot. A piece of metal
going up from the switch was
installed to protect the wiring underneath. This is an extra protection in
case someone tries to put a nail in the area (for example when we put up the
gypsum board). It is required by code.
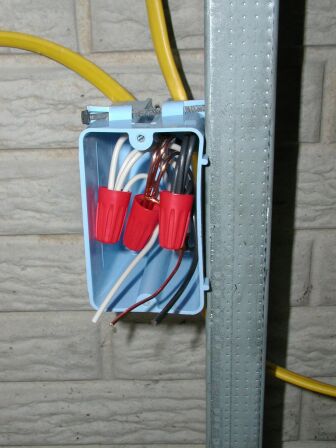
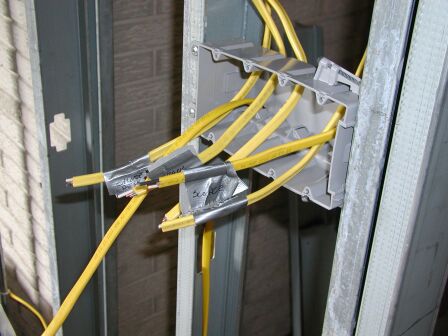
A close up view of the wiring in a switch box. Notice the loose wires
sticking out of the box at the bottom. They are called pig tails.
The actual switch will be wired to them. This is because otherwise the
whole bundle would have to be connected and it would be awkward.
|
|

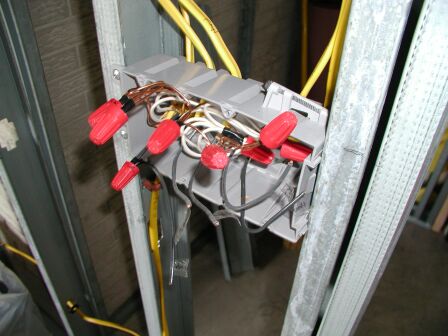
I added phone jacks to the additions by tying the new into the existing
phone lines. My existing phone jacks had several different wires going to
it. Most wires were not used. They were installed so that I could
have several lines in the house in the future without needing to rewire the
jacks.
|
|
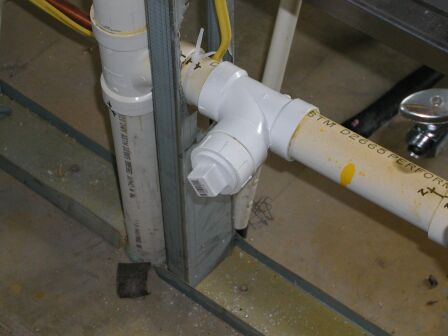
A view of the cleanout in position. The whole installation went
smoothly. I'm glad I had an inspection because it would have been
difficult to un-clog the plumbing (if it ever did get clogged up) without the
cleanout.
<prev ~ Back to Top ~ Next>